
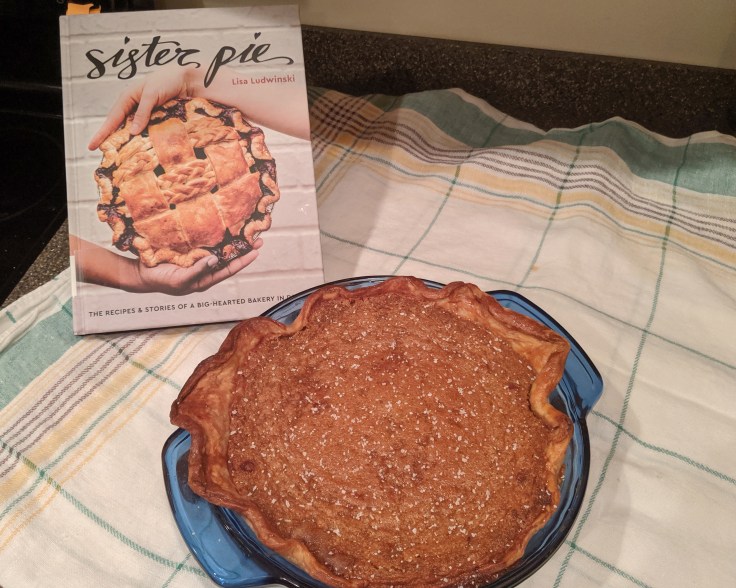
So it seems like our cookbook club is the only thing that’s keeping us blogging this fall… I guess that’s a good thing! We’re still really enjoying participating and are loving the variety of cookbooks selected. For November, we’re cooking (or baking as it were!) through Sister Pie, by Lisa Ludwinski. The selection is certainly appropriate, given how pies abound during November and December. Ask Selim about this; he feels VERY strongly about the necessity of pie on your Thanksgiving table! We’re still reluctant bakers over here, so it’s good we had the book selected for us. Maybe one day we’ll finally feel comfortable with baking. But until that day, we’ll keep following baking instructions to the letter! That’s a great thing about this book – there are very detailed instructions about all aspects of creating the pies and especially the dough. Which we definitely appreciated. So there’s very little that we changed about this recipe from the original.

So our first selection from this cookbook jumped out to both of us. Salted Maple Pie – how could we resist?! Selim loves maple, and I love anything sweet that’s salted. We spent a lovely but chilly weekend with some friends in the mountains and this was a perfect dessert! Decadently sweet, with great maple flavor and perfectly topped with salt! It’s a perfect dessert for these cool, late-fall, almost-the-holidays weekends. And it’d definitely be a welcome addition to your Thanksgiving spread. One big note though: making this pie is time-consuming, with several resting/cooling periods. So I’d advise reading the instructions all the way through before starting!


So after all this work, what’d we think? We all loved the flavor! The crust was nice and flaky – I think we were successful in not overworking it. A tough crust was a common complaint in the Cookbook Club Facebook group, and the consensus is that overworking the dough is the problem. The texture was not quite what we were expecting. We both thought it would be like a pumpkin pie, but it’s more custard-y than that. Selim kept describing it as “eggy,” and I think the texture through him off a little bit. Full confession though. We only let it cool for an hour (instead of the prescribed 4-6 hours) before digging into it. The filling definitely had set a little better by morning when we had some more for breakfast. Sooo… edible and delicious as soon as it’s cool, but better after sitting for awhile!

Salted Maple Pie
(Minimally adapted from Sister Pie)
Ingredients:
- Crust dough:
- 1 1/4 cup AP flour
- 1/2 tsp sugar
- 1/2 tsp salt
- 1/2 cup butter, very cold
- 3 tbsp cold water*
- 1 tbsp apple cider vinegar*
- Filling
- 1/2 cup unsalted butter, melted & cooled
- 1 cup maple syrup
- 3/4 cup brown sugar
- 1/4 cup fine yellow cornmeal
- 1/4 tsp salt
- 3 eggs
- 1 egg yolk
- 3/4 cup heavy cream, room temperature
- 1 1/2 tsp vanilla extract
- Etc
- 1 egg, beaten
- Flaky salt
Instructions:
- Place your stick of butter in the freezer for ~20 minutes prior to getting started.
- *Take a 1/4 measuring cup and fill with just an inch or so water and place in the freezer too.
- In large bowl, combine dry ingredients – flour, sugar, and salt. Working quickly, use a box grater and grate the butter from the freezer into the bowl. Stop a few times and gently incorporate the butter with the dry ingredients.
- *Get that measuring cup with the now-frozen water. Add the apple cider vinegar and then fill up the rest of the way with water. Add this mixture to the bowl.
- Scrape the sides of the bowl, pushing dough from one side of the bowl to another, until there are no longer any pools of liquid. Now switch to your hands -“scoop up as much of the mixture as you can, and use the tips of your fingers… to press it back down onto the rest of the ingredients.” Keep doing this until you have a fairly combined dough ball. Don’t overwork it – stop when the ball is just holding itself together.
- Remove from the bowl and pat down into a thick disc. Wrap in plastic wrap and store in the refrigerator for at least 2 hours.
- Now it’s time to roll out the dough. Lightly flour the counter. Using your rolling pin, “press and roll along the edge of the [dough] round one single time, enlarging the circle. After each press of the edge, rotate the disc 45 degrees.” Now place the rolling pin in the center of the dough and rolling outwards. Keep rotating the dough disc and rolling outwards from the center until the dough reaches a diameter of 12-13 inches.
- Invert your pie pan in the center of the dough circle. Cut out a circle of dough with ~3 inches of dough outside of the pie dish. Flip the pie dish back right side up. Gently fold the dough in half, place in into the dish, and unfold.
- Next you should crimp the crust. Or don’t. We didn’t quite figure this out. You’re on your own for this step. Good luck!
- Place the crust in the freezer for at least 15 minutes.
- Ok, now we blind bake the crust. Preheat your oven 450 degrees. Place a large piece of aluminum foil inside the pie dough and fill it up with dry beans. Bake for 25-27 minutes on a cookie sheet. Allow to cool for a few minutes before removing the aluminum foil and beans.
- Decrease the oven temperature to 350 degrees.
- Now we’re moving on to the filling. Whisk together the melted butter, maple syrup, brown sugar, cornmeal, and salt. In another bowl, whisk together the eggs, egg yolk, heavy cream, and vanilla. Then slowly pour the egg mixture in the maple mixture, stirring until just combined.
- Brush the pie crust with the beaten egg. Then fill it with the maple mixture.
- Bake for 45 minutes – 1 hour, until just the center jiggles slightly when the pie pan is shaken. (Ours took the full hour.)
- Place the pie on a wire rack to cool for 4-6 hours. Once cool, top with the flaky salt.

